Welcome to our comprehensive guide on Arduino Nano, your gateway to unlocking the full potential of this compact yet powerful microcontroller. In this guide, we’ll delve into the intricacies of Arduino Nano, exploring its features, applications, and providing you with valuable insights to harness its capabilities effectively.
Understanding Arduino Nano
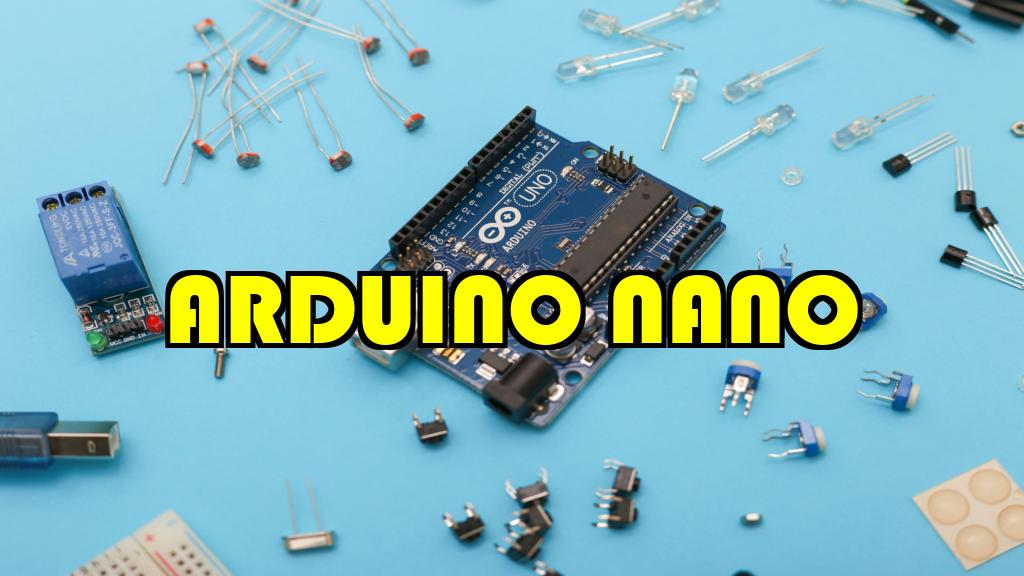
What is Arduino Nano?
It is a miniature yet versatile microcontroller board that serves as the perfect solution for a wide array of electronic projects. Developed with the user in mind, its compact design doesn’t compromise on functionality, making it a popular choice among DIY enthusiasts, hobbyists, and professionals alike.
Key Features
1. Compact Design
The hallmark of this device is its compact form factor, allowing for seamless integration into projects with limited space.
2. Robust Performance
Despite its small size, Arduino Nano boasts impressive processing power, ensuring efficient execution of tasks in real-time.
3. Extensive Connectivity
Equipped with a range of I/O pins, it facilitates easy connectivity with sensors, displays, and other peripherals.
4. Versatility
From simple LED projects to complex IoT applications, Arduino Nano’s versatility makes it an indispensable tool for creators across various domains.
Applications of Arduino Nano
1. IoT Projects
It plays a pivotal role in the Internet of Things (IoT) landscape, serving as the brain of smart devices and enabling seamless communication between them.
2. Robotics
In the realm of robotics, it emerges as a preferred choice due to its compact size and ability to control motors and sensors with precision.
3. Wearable Tech
The compact nature of Arduino Nano makes it ideal for wearable technology projects, allowing creators to design innovative and unobtrusive devices.
ALSO READ: Selecting the Best Asset Tracking Device: 5 Top Options
Setting Up Your Arduino Nano
1. Hardware Installation
a. Connecting to Power
Ensure a stable power supply by connecting your Arduino to a reliable source, whether it’s a USB port or an external power adapter.
b. Peripheral Connections
Effortlessly integrate sensors, actuators, and other components by utilizing the various I/O pins available on it.
2. Software Configuration
a. Installing the Arduino IDE
Navigate to the official Arduino website and download the Arduino IDE to commence programming your (IoT) board.
b. Uploading Code
Master the art of programming by uploading code snippets to your board , unlocking endless possibilities for customization.
Troubleshooting Common Issues
1. Connection Problems
If you encounter connectivity issues, double-check your wiring and ensure proper power supply to your board .
2. Programming Errors
Debugging is a crucial skill. Learn to identify and rectify programming errors by analyzing error messages provided by the Arduino IDE.
ALSO READ: Use The Power of Automation Equipment For 10X Productivity
Conclusion
In conclusion, Arduino Nano stands as a powerhouse within the realm of microcontrollers, offering unparalleled versatility and performance. Whether you’re a seasoned developer or a beginner, the potential for creativity with Arduino Nano knows no bounds.